Table of Contents
Nail Art Unleashed: Dive Into The World Of DIY With These Captivating Nail Art Tutorials!
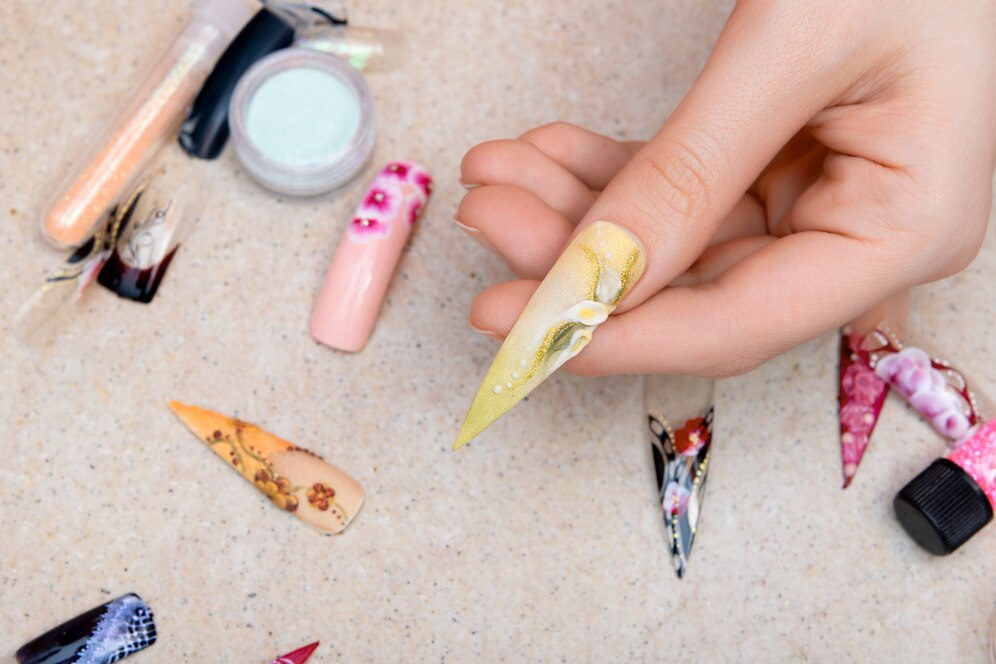
Nail art has become a popular form of self-expression, allowing individuals to showcase their creativity through vibrant colors, intricate designs, and unique patterns. While professional nail salons offer a plethora of stunning options, the rise of do-it-yourself DIY Nail Art has empowered enthusiasts to experiment and create personalized looks in the comfort of their homes.
In this article, we’ll explore a variety of exciting DIY nail art tutorials that cater to different skill levels, ensuring that everyone can find a design to try.
1. Classic French Tips with a Twist:
Start your DIY nail art journey with a classic yet trendy French tip design. Begin by applying a base coat, followed by a nude or pale pink polish.
Once dry, use a thin brush or nail tape to create a unique twist on the traditional white tips. Experiment with geometric shapes, colors, or glitter to add a modern flair to this timeless style.
2. Watercolor Nails:
Achieve a soft and dreamy watercolor effect on your nails with this simple tutorial. Apply a white or light-colored base coat and allow it to dry completely.
Next, dab a few different nail polish colors onto a surface and use a thin brush dipped in acetone to blend them gently on your nails. The result is a beautiful, ethereal watercolor masterpiece.
3. Ombre Gradient Nails:
Create a seamless transition of color with ombre gradient nails. Choose two or more complementary shades and apply them to a makeup sponge in a gradient pattern.
Gently press the sponge onto your nails, building up the color gradually. Finish with a glossy top coat to enhance the gradient effect.
4. Galaxy-Inspired Nails:
Bring the beauty of the cosmos to your fingertips with a stunning galaxy-inspired nail art design. Begin by applying a dark base coat and sponging on shades of deep blue, purple, and black to mimic the night sky.
Add tiny specks of white or silver polish to represent stars and finish with a layer of iridescent glitter for an otherworldly touch.
5. Floral Fantasy Nails:
Embrace the beauty of nature with a floral fantasy nail art design. Start with a light-colored base coat and use a fine brush to paint delicate flowers, leaves, and vines.
Experiment with different floral patterns and color combinations to create a personalized garden on your nails. Seal your masterpiece with a clear top coat for a polished finish.
6. Abstract Art Nails:
Let your creativity run wild with abstract nail art. Begin by applying a neutral base coat and use various colors to create bold, expressive strokes or patterns on each nail.
Abstract designs offer endless possibilities, making it the perfect choice for those who love to experiment with shapes and colors.
7. Tape Manicure:
Achieve clean lines and geometric precision with a tape manicure. Apply a base coat, let it dry, and then use thin strips of nail tape to create intricate patterns.
Paint over the tape with contrasting colors, wait for the polish to dry, and carefully peel off the tape to reveal a sophisticated and modern design.
Conclusion:
Embarking on the journey of DIY nail art is a fantastic way to express your personality and elevate your style.
These tutorials cater to various preferences and skill levels, ensuring that both beginners and experienced nail artists can find inspiration to create stunning designs at home.
Whether you prefer classic elegance, trendy styles, or abstract creativity, the world of DIY nail art invites you to explore, experiment, and enjoy the process of turning your nails into miniature canvases of self-expression.

